We are convinced of the power of graphic facilitation, it has proven itself during numerous workshops, brainstormings, team buildings and events.
As imagination works with images, illustrations help you better visualize concepts. People are also more likely to remember something when seeing it compared to only hearing it. And when a live session results in a nice visual outcome, it definitely makes it a memorable experience.
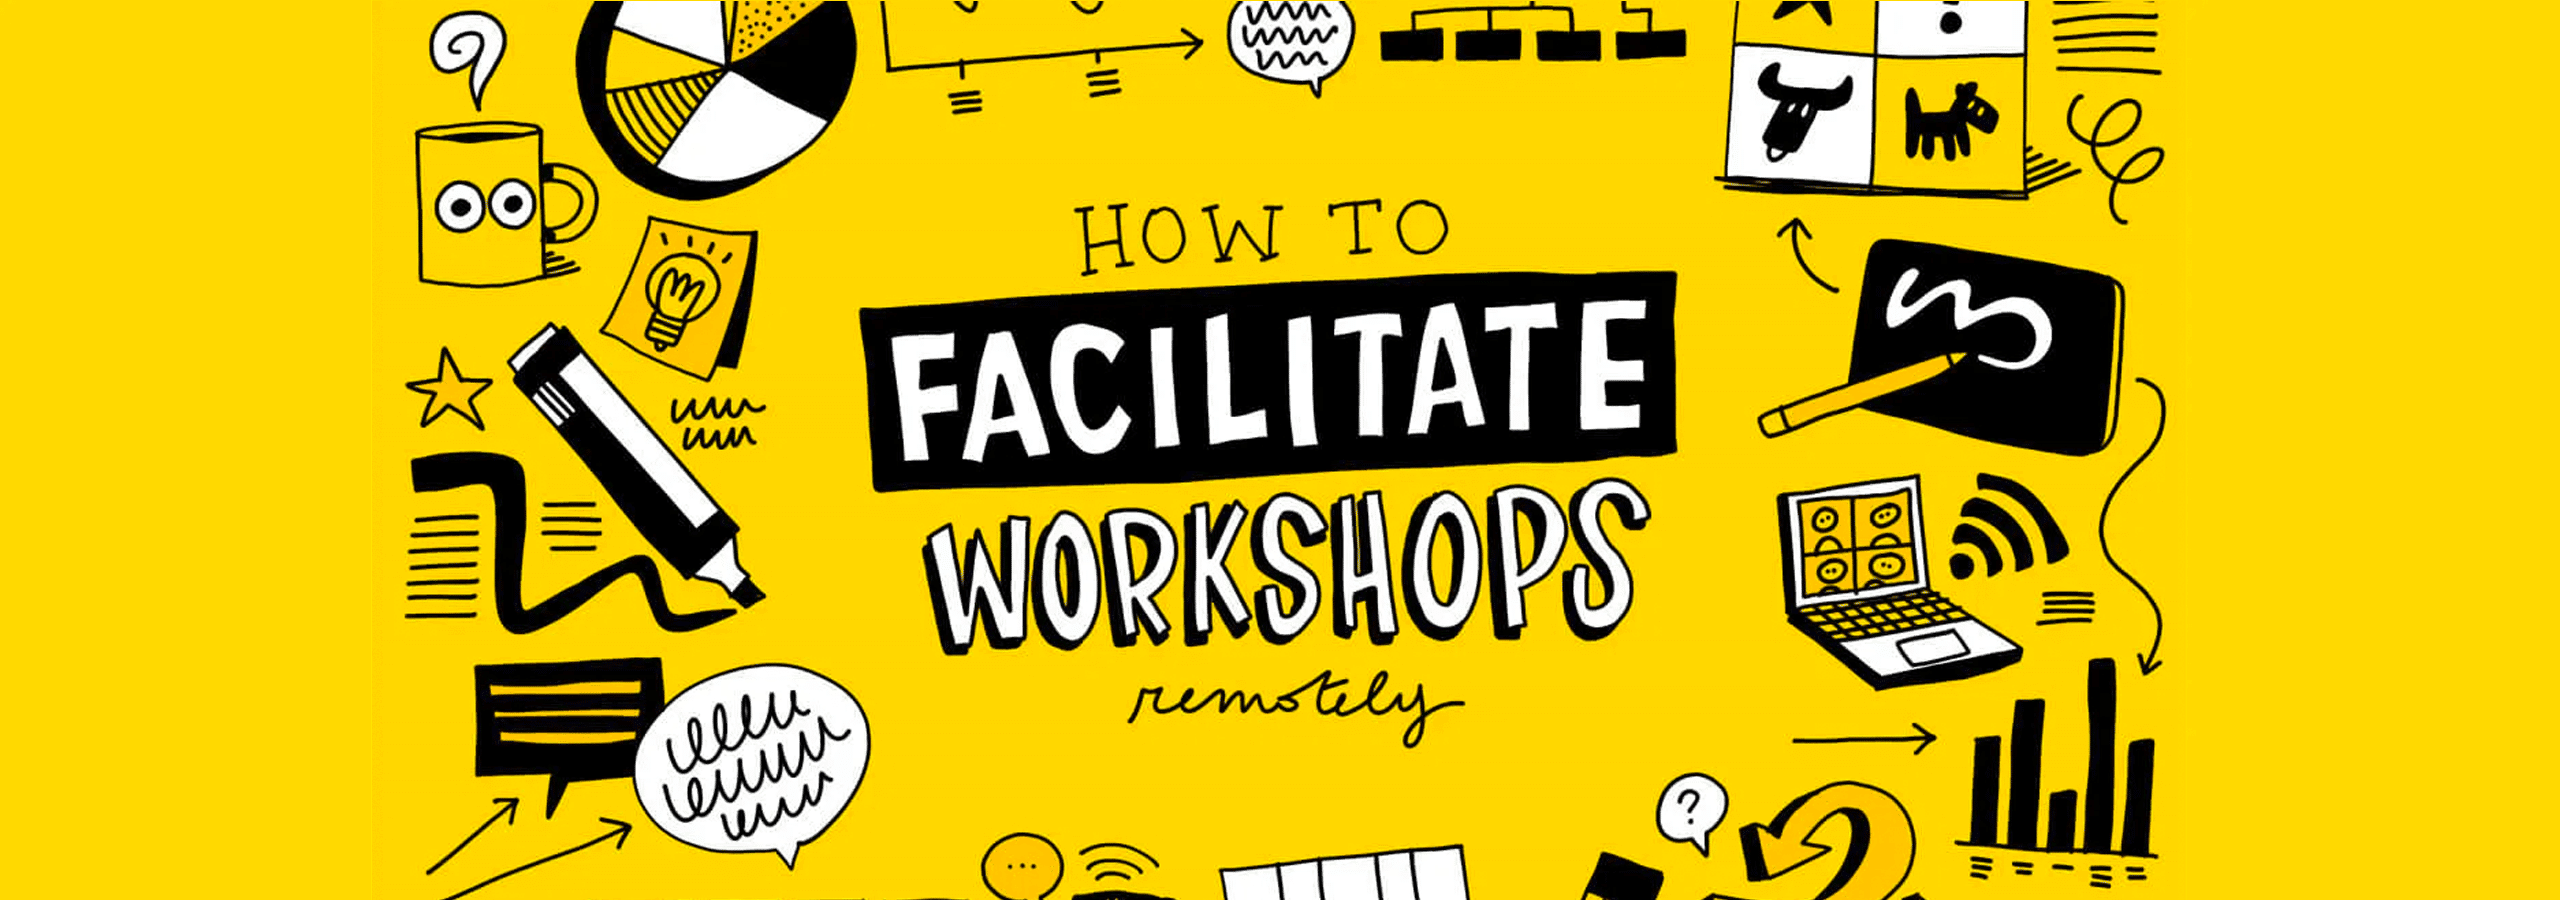
But how do we keep everyone engaged during a remote session?
In the following, we share our experiences with digital scribing and video conferencing. What works and what doesn’t, what tools we use and what the different outcomes are.
The basics
The first thing not to underestimate is the time it will take for people to get ready.
Whether it’s a locked session, a password issue, a software update, lost EarPods, … There are plenty of reasons for your session to be delayed, so make sure to foresee enough time to setup before the meeting.
Then you have the background noises and the echoing which makes it really hard for a speaker and the participants to focus. When you’re only listening or scribing, don’t forget to mute yourself, especially if you are using two devices at the same time.
A tip to involve participants is to give them some time to write down their ideas or questions on a sticky note. With some preparation, everyone will feel more confident to speak up.
Do not cut the small talk at the beginning of the session, it helps people to get to know each-other or to have a friendly chat before starting. Then, you can introduce the goals of the meeting and choose a moderator that will help you during the session to make sure everyone is involved and to keep an eye on the clock.
When the meeting is over, do not hesitate to leave it open as some people might stick for a while and it’s always interesting to network a bit afterwards.
Our approaches
We have used five approaches so far that have provided great results.

1.The Ghost
The illustrator is participating without displaying his/her screen. This is an option you should consider if the connection is not good enough for live streaming or if you want to focus on seeing the speaker.
It is not distracting for the participants but also less entertaining than a shared screen.
There is no need for a preparation here, unless the topic is very complex or if the session is shorter than 30 minutes. For the latter, we prefer to prepare a base for the illustration to make sure the final fresco is complete.

2. The Wrap-up
This version is similar to “The Ghost” except that the illustrator walks the participants through his/her drawings at the end of the presentation.
It will serve as a good wrap-up of the session, and prepare the participants in case they have to pitch the illustration themselves later.

3. The Window
The illustrator is drawing the whole time on a fraction of the screen, he/she can also intervene whenever relevant.
This will allow the participants to check the progress of the live illustration while still being able to see the speaker or his/her presentation. It can also be combined with a wrap-up. If possible, it is better to receive a briefing and some slides before the session, even if they are not finalized.

4. The Show
On this setup, the illustration is taking the center of the stage and the participants will be able to follow the progress of the illustration being made closely. This is a great option for less complex topics or for Q&A sessions.
Similarly to “The Window” it is helpful to receive a briefing before the session.

5. The facilitator
The illustrator is drawing around the participant’s contributions on a shared board. He/she can either facilitate the whole session or interact live with the participants’ notes. You can think of this as a digital whiteboard with markers, sticky notes, mind maps and an illustrator to supervise and give his/her insights.
It is important here to receive a briefing to make sure we tackle all the right topics, especially if the illustrator facilitates the whole session.
The Tools
To draw digitally, we usually use an iPad Pro with Procreate. Procreate is an app that is similar to Photoshop in terms of capabilities, it is your go-to software if you want to deliver a high quality illustration at the end of the session.
All the major conference softwares have iOS versions, and if not, you can always log in from the internet browser of the iPad.
The easiest way to start is to join the meeting and share your screen while drawing. The downside of this option is that you cannot see the participants talking and/or the slides that are displayed. The solution is to log in twice in the session, once with your computer or phone and the secondly with your iPad, but do not forget to mute one of the two to avoid echoing.
For the first four approaches you can use the softwares Zoom, Skype, Hangout, Webex, Teams and include any amount of participants. However for “The Facilitator”, we would recommend having between 3 to 10 participants per facilitator and to use softwares such as Miro, Mural, Aww and Adobe connect.
The outcomes of the live sessions are a high resolution illustrations that can be shared in the chat, in a follow-up email or on social media. If needed, the illustrations can also be transformed into a video with a voice-over to share the results of your session with a broader audience.

